 |
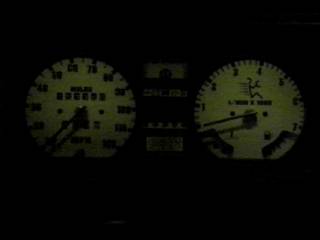
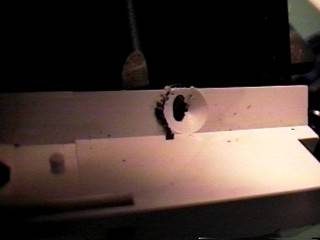
Here is my gauge cluster as it stands, cool set of my 4130 Gauge Overlays installed from a while back. At night there is a greenish tint |
| Of course the first thing you will do it remove the gauge cluster, CLICK HERE for that, also please read THIS FILE for info on opening up the gauge cluster. |  |
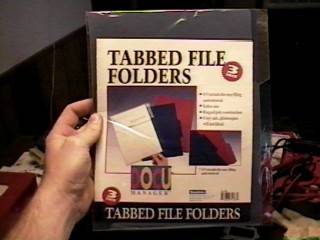 |
What gives the gauge cluster lights a greenish tint is pretty simple, there are 2 pieces of green plastic that the bulbs shine though. I'm replacing mine with this colored file folders I got at the office supply store for under 2 bucks. |
| Lets start off with the easy part, changing the strip that does the speedo and tach. On the top of the gauge cluster there is a plastic housing that has 2 bulbs in it. This housing is mounted to the gauge cluster body by melting studs that poke up from the body. There are 2 rows of these melted studs. |  |
 |
Using a drill, drill out part of the melted studs on both rows. You don't need to drill all the way though it, just enough to get rid of the melted parts. Then slip a screw driver between the body and the housing to pry them apart. Notice how I'm prying them apart, you can see a hole for a bulb to the left of the pic. Once you get that edge up some, you can slip the other side out. Try to do as little damage as possible. |
| Here is the bulb housing with the green strip. Simply pull the strip out and use it as a guide to cut your new strip..... | 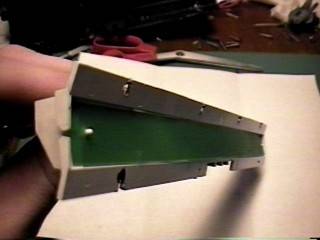 |
 |
.... and then press it into place. I've made mine 2 layers thick, cutting along a folded edge (bottom part of the folder). To mount it back onto the main body, fit it back in and then use a good epoxy to keep it in place. Turns out I didn't have any epoxy or super glue, so I used a propain torch to heat a bit of metal and melt the points I drilled back together. I worked, but epoxy would of saved me some time and avoided a bad burning plastic smell. Now, onto the really fun part, the LCD! |
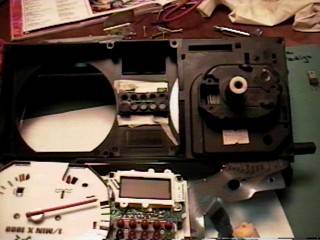
| In order to get to the LCD, you have to open up the gauge cluster. Start by removing the 8 phillip screws from the back of the gauge cluster. Then remove the screw here from the heat sink.... | 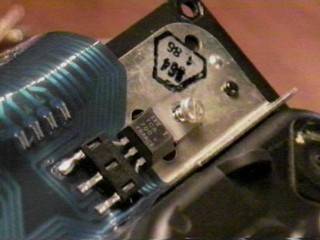 |
 |
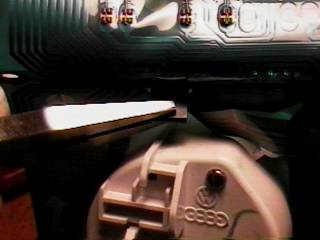
2 screws from the sensor on the speedo..... |
| Unclip the electrical connection from the back of the tach... | 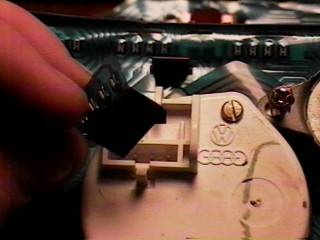 |
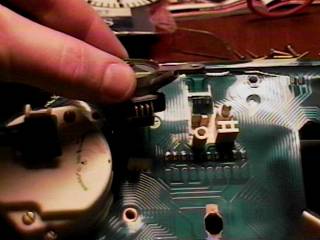 |
And the 2 screws that hold the vacuum sensor down then pull it free. There are 5 small nuts that hold the gas and water temp in place. Remove the nuts and washers. |
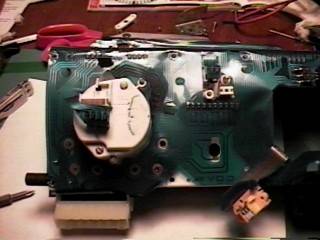
| You are now ready to remove the flex circuit board. On the back side of the speedo, insert a small screw driver along side the plug and gently pry it upward until it is free. | 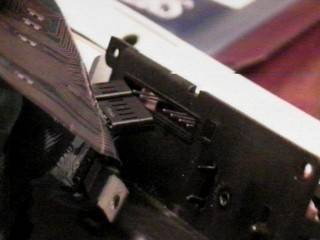 |
 |
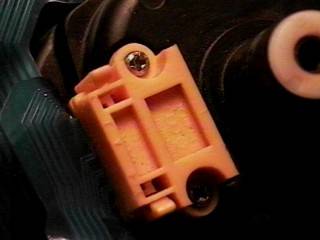
On the tach side, there is a little black tab, grasp it with some pliers and pull it free. |
| You will now need to remove the tach plate. Click here for info on that. Once you have it removed, you will see a circuit board that is held in place by 1 screw and some plastic tabs. Remove the screw then carefully unsnap the board from the tabs. Start at 1 end and work your way to the other, you can flex the board a little (very little, it can snap in 2 if you are not careful). | 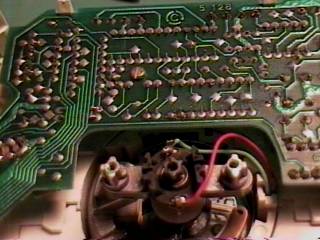 |
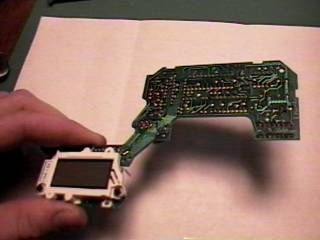 |
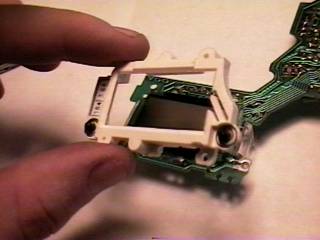
And here it is, the LCD asm. There are 2 screws on the front of the white plastic frame that need to be removed. |
| Now flip it over and remove the 2 screws from the back. | 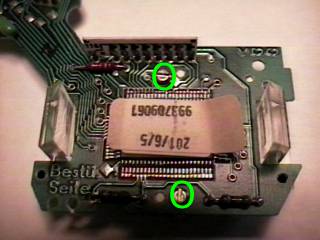 |
 |
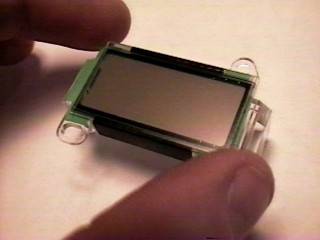
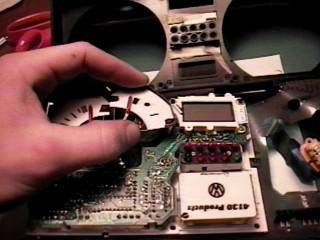
Pull the frame away from the LCD screen. At this point, the only thing keeping my LCD screen in place is the fact that it has been stuck there since 1986. |
| Grasp the corner and with upmost care pull the light diffuser and LCD screen away from the circuit board. Do not touch the face of the LCD screen with your fingers for any reason, you can damage it super easy. You may see parts of the LCD screen "light up" as you move it, this is because it is super fragile and you are flexing on it a little. | 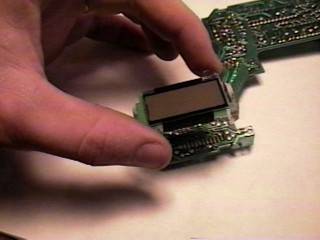 |
 |
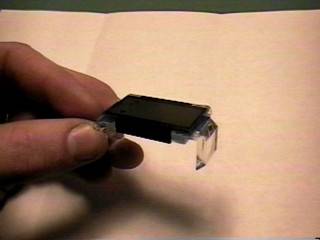
Now set it down and this time carefully grasp just the glass plates of the LCD screen and pull it off the light difusser. There are 2 "rubber" strips on the bottom of the LCD screen, those are the contact points. These rubber strips and pop off if you are careless. Also, MAKE SURE YOU KEEP TRACK OF WHICH END IS UP, you do not want to install the LCD screen upside down! Set it off to the side in a safe place. |
| And here is the green strip... | 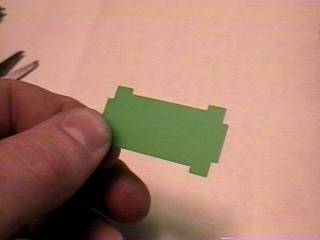 |
 |
Again I used the old green strip as my guide to trim out a new blue strip. 2 layers thick. |
| Set your new strip atop the light difussor | 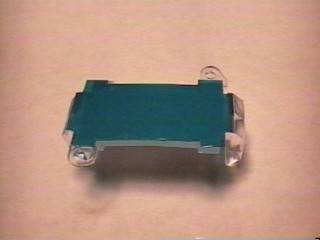 |
 |
Gently place the LCD screen on top of the light diffuser. |
| Place light difussor back onto circuit board. | 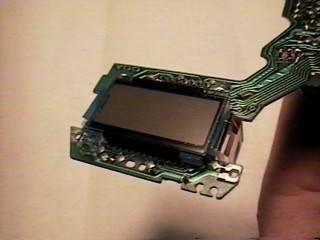 |
 |
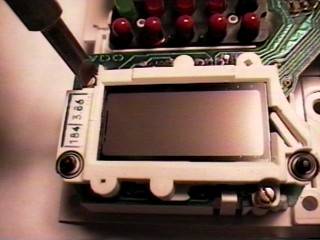
Place white plastic frame over LCD screen and then return the 2 screws that were on the back side of the frame. |
| Line up the pins of the circuit board with the hole then snap the circuit board back into place. | 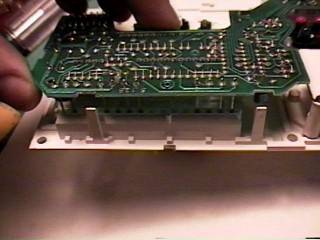 |
 |
Return the 2 screws to the front of the plastic white frame. |
| Now take the tach part of the gauge cluster and set it down in the main body of the gauge cluster housing. | 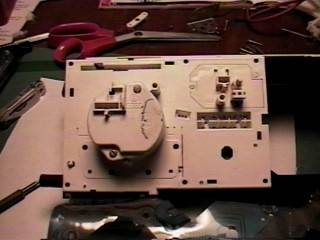 |
 |
Flip the flexible circuit board back in place |
| Put vacuum sensor, up shift light, and electrical connection of tach back in place. | 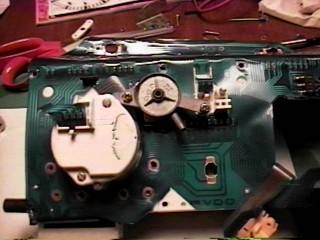 |
 |
Unfold everything again and return your water temp and gas gauges to their places and secure them down with the nuts and washers. |
| Put your tach face and needle back on. | 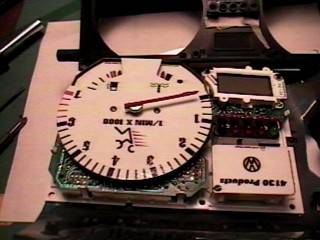 |
 |
Now take the speedo part and set it into place, making sure you have the reset button in the hole. |
| Flip the tach/printed flex circuit back into place, secure the speedo sensor and heat sink back in place, mount the 3 bulbs and screw in the last 8 screws and you are ready to return the gauge cluster to the dash! |  |
 |
And here is the end result. It is hard to get a good shot of it, but trust me, it looks really cool. My biggest fear was that the LCD wasn't going to work, but it does, so if I can do it, you can to. |

Why should you send a postcard? Because it is cheap to do and as we all know, the US Post Office is funding it's Super Muntant Army Project with fees from postcards stamps. I would really like to see a Super Muntant Army deliever my mail in the near future.
Thank you.
