 |
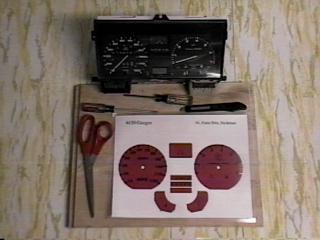
This is what the product looks like when you get it, a sheet with the designs for your style of gauges printed on it (85 GTi in this case). You'll need some good scissors (Finnish made Fiskers are the best by far), small screw driver, phillips driver, sharp knife (I'm using one of those $1 razors that you can snap the tip off of). Not pictured that you might want to use, some masking tape, 2 butter knives, chilli. You'll want to work in on a clean clear table. |
| First thing to do it to trim the different parts out, I just do a fast hack job to separate the bits | 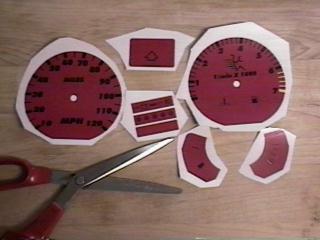 |
 |
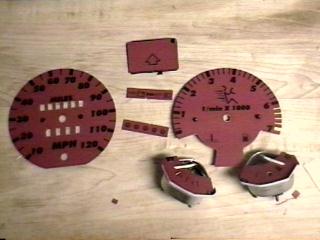
This is were a good pair of scissors comes in real handy. I guess one could trim them with a razor blade thought. Just take your time here, no big rush. |
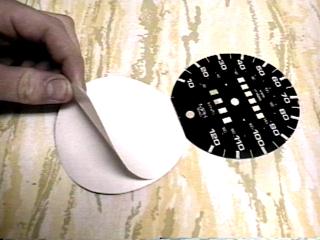
| Now I've got all the separate pieces trimmed out and I'm ready to apply them to the gauges. Notice that I've gone with the 5 little VW logos on the false idiot lights. | 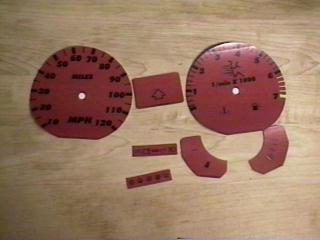 |
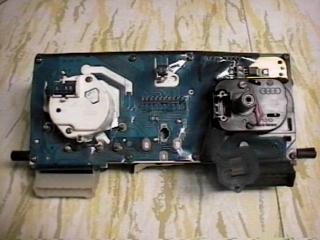 |
Turning the gauge cluster so the back is facing you, you'll find 8 phillip screws in it that will need to be removed, along with the 2 bulbs (not shown) along the top. After you remove the 2 bulbs (they twist out), pull the top part of the plastic "pc" off the top area. Also remove the 5 nuts that hold the gas and water temp gauges in place. |
| Once you get the 8 phillip screws out, you can open up the gauge cluster, carefully unfolding it like so. | 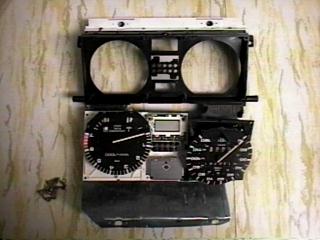 |
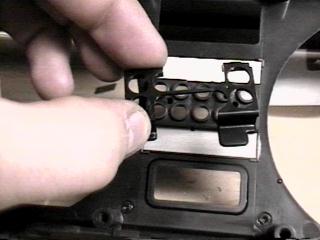 |
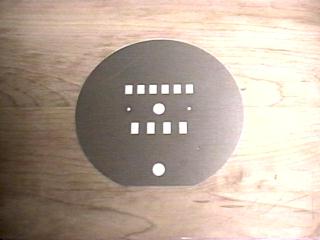
Remove the plastic piece that hold in the tin plates for the idiot lights. It pulls right out. Once you do that, you can pop the 2 little plates right out. |
| First thing you'll want to do now is gently pry the speedo needle over the stop-pin and make note where it comes to rest. You'll need to remember this for when you put the needle back on. | 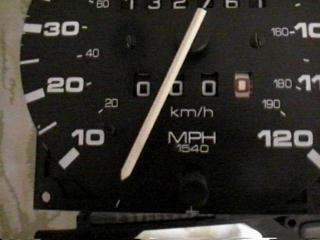 |
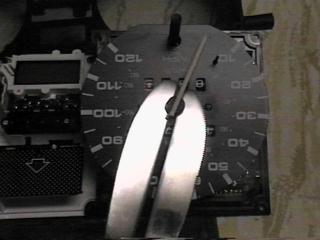 |
Now your ready to remove the needles, which is really EASY with this little tip. Take 2 butter knives (or screw drivers), slip them under the base of the needle, one on each side of the shaft, then twist the knives so they "pop" the needle straight up off of the shaft... works every time for me. |
| Using your small screw driver, remove the little screws that hold the gauges faces in place. | 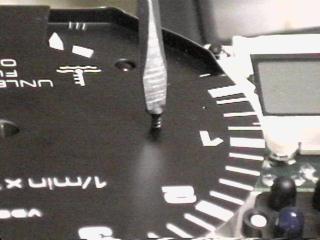 |
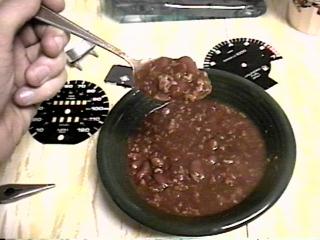 |
Time for some of my homemade chilli (1 lbs of ground beef boiled, then drained, 1 packet of chilli mix, 2 cans of red beans, 1 cup water, 2 jars of Pace salsa (canned tomatoes suck), simmer for 2 or 3 hours. |
| You'll need to remove the stop pin from the speedo, to do this, grasp it with a pair of pliers, then twist it around and around while gently pulling on it until it pops free. Once you get it free, I suggest you clean the plates with something along the lines of window cleaner to make sure they are free of any dirt and greases. | 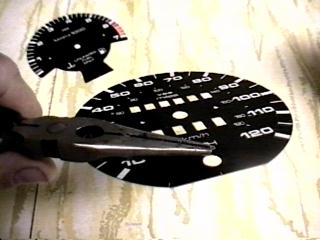 |
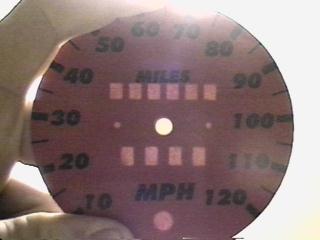 |
Now lets apply the custom gauges.... by holding the cover over the tin plate, and in front of a light, we can see how things will line up. The white circle in the center of the cover needs to be lined up with the opening in the tin plate. |
| Once you get it lined up just right, use a a little bit of masking tape to hold the cover in place on one end. |  |
 |
Now remove the backing from the custom cover to expose the sticky surface. |
| Then apply the cover, taking care to make sure you get it lined up right so the marks are in the same place as the factory marks. Using a paper towel, I rub from the center towards the outer edges to help press the cover on real good. | 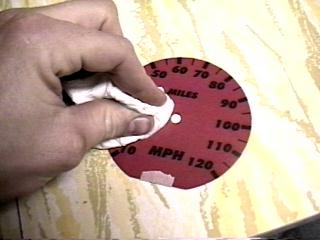 |
 |
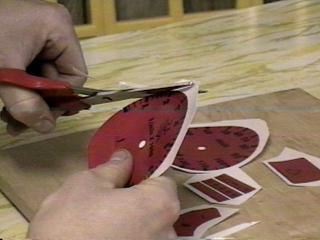
Now using a good clean cutting board, place the gauge face down. You will be using the gauge itself as a template to trim the holes out. |
| Using a very sharp knife or razor when you do this to help ensure good clean cuts. A dull razor can tear rather than slice. Just take your time here. | 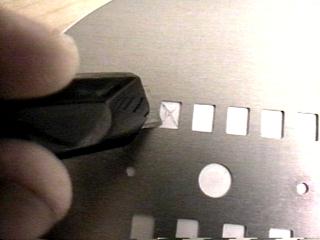 |
 |
Now I've got all the tin plates covered and I'm ready to put everything back together. Notice that I trimmed out part of the custom covers for the rivets on the gas and water temp gauges. When you put it back together, you will not be able to see those areas. Also make sure you put the idiot lights cover on correctly since there is a notch in the plates making it so they can only go in 1 way. I also decided not to trim out the up shift light on this set as well (doesn't work anyway). |
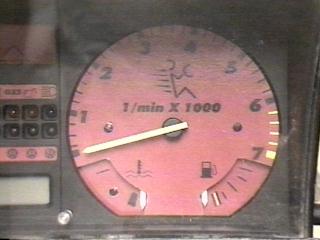
| And here is the finished product. Not to bad at all. To do all this will take most people about 2 hours to do. | 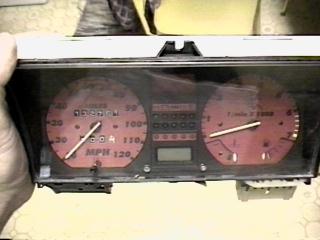 |
 |
 |

Why should you send a postcard? Because it is cheap to do and as we all know, the US Post Office is funding it's Super Muntant Army Project with fees from postcards stamps. I would really like to see a Super Muntant Army deliever my mail in the near future.
Thank you.
