
A4/B5 Instrument Cluster Stepper Motor Replacing
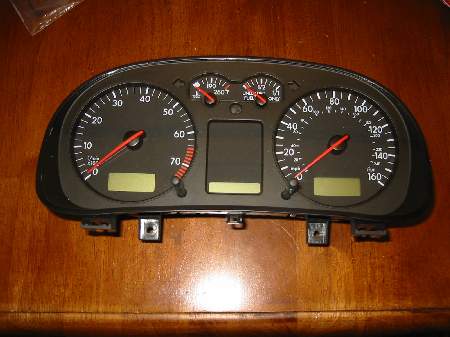
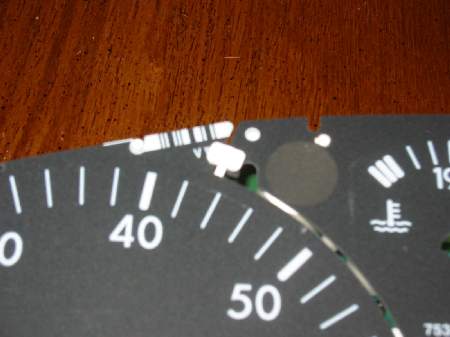
With the 1999.5 - 2005 Jetta/Golf/Passat the needles of the instrument cluster are opereated by stepper motors. In a given cluster, the same part is used for each of the 4 different gauges and said stepper motors. Now sometimes the operation of the stepper motors can get "flaky" in which instead of having a smooth sweep they will have a range in which they move stutter or move "jerky". The speedo on my cluster did it up in the 0 - 20 MPH range, but was smooth everywhere else.
Swapping the stepper motors out is not all that hard, but you do need to have some basic soldering skills. If you don't, then I'd suggest you find someone who does. By soldering skills, I mean you know to you use as little as possible to do the job... if you glob it on, find help.
Basic tools needed:
- T10 Torx
- low wattage soldering iron ('el cheap-O from Radio Shack is perfect)
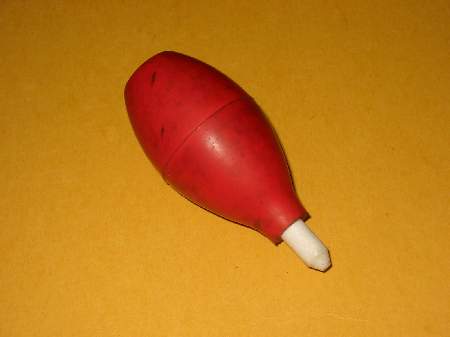
- Desoldering bulb or wick (Radio Shack again).
 |
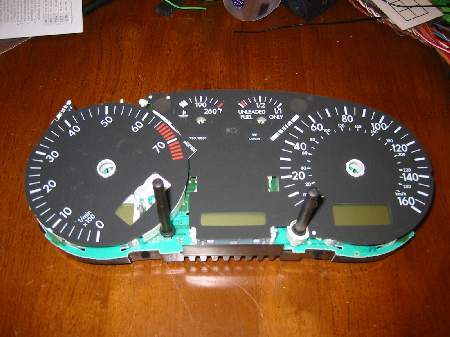
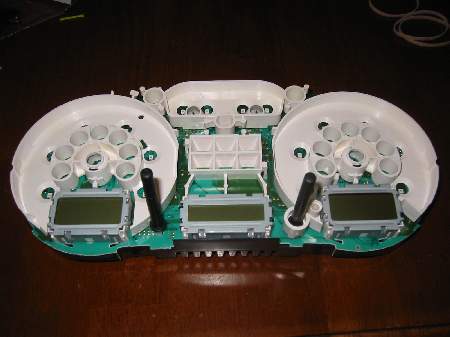
Starting point... cluster out of car. So far this has been very easy to do. |
| There are 2 T10 Torx screws at the sides on the back of the cluster, remove them. |
 |
 |
The front half and rear half of the cluster body is held together by several latch points like this. Start at one said and while trying to pull the two halfs apart, gently pull the latches back one at a time until you work your way from left side of cluster to right side of the cluster. I can do this with my bare hands. If one needed to you could slip tooth picks under each latch then try to work the 2 halfs apart. |
| Look for the hidden latches behind stickers like so.... split the sticker to since it will try to hold the halfs together. |
 |
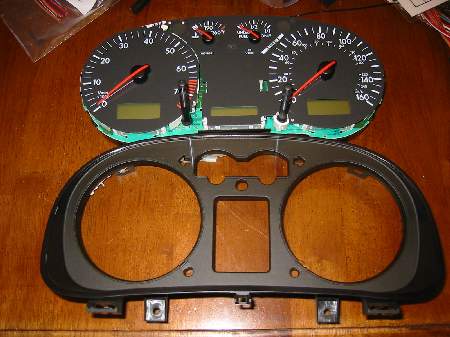 |
With that, the top half will pop free. |
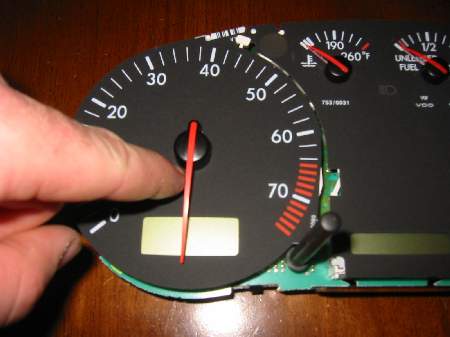
| The needles are pressed onto a shaft of the stepper motors. If you push on the needle and try to push it past the lowest reading point, it will resist. A little effort and you can then start spinning the needle on the shaft as I've done in this pic. Doing this will help loosen the needle from shaft, so give 'em a 360 spin counter clockwise. |
 |
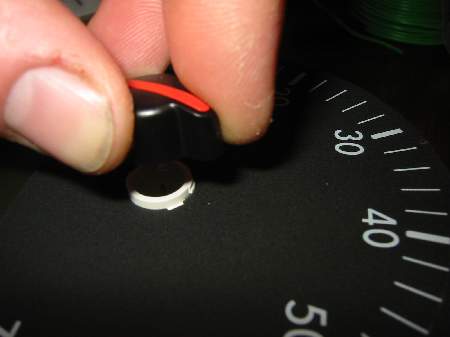 |
Using your Kung-Foo Tiger Claw grip on the base of the needle, pull upwards will twisting on the needle causing it to spin on the shaft. Go straight up and way from the shaft, no side to side movement because you could bend the the shaft fo the stepper motor. Clean hands a plus.... |
| Kung-Foo Tiger Claw... learn it... live it... love it... repeat it with the other 3 needles. |
 |
 |
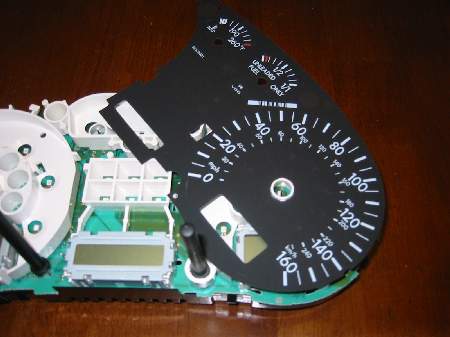
The face plates are thin plastic, very flexable and the center holes of the two plates have cam locks to help keep then in place. To remove them, you have to rotate them then remove. To keep them from rotating, the upper corners are secured in place with a notch and pin. See the "V" above the 4200 RPM point, then to the left of the "V" is a white block, each corner is tucked under the white block. Pop the corner out from under the white block.... |
| .... rotate the tach face plate to the posistion as shown and gently lift up. Pay close attension to the center hole and you will see how the cam lock design works, really simple. |
 |
 |
Same things goes for the speedo face, just rotate to the position shown and lift out. Remember to only handle the edges of the face plates. The face of them discolor if you look at them wrong, let along touch them with about anything. |
| There are 2 barb tabs keeping the back half of the cluster secured to the electronics of the cluster, gently pry one of the tabs back and seperate the rear half from the electronics. |
 |
 |
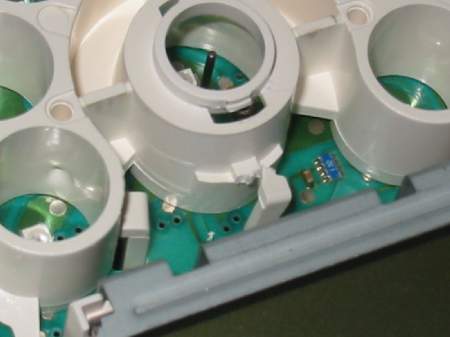
With the gauge faces removed, you will how be faced with the semi-evil white plastic base frame. But with some mad hacking skills, you can defeat it... There are 3 challenges that must be faced if you wish to overcome your stepper motor fears. |
| The white plastic base frame surrounds each LCD display and there is a single bridge of this part of the frame that connects it to the rest of the base frame. Sure one could take apart the LCD metal frame but the wise one will choose his weapon and attact at the weakest point... |
 |
 |
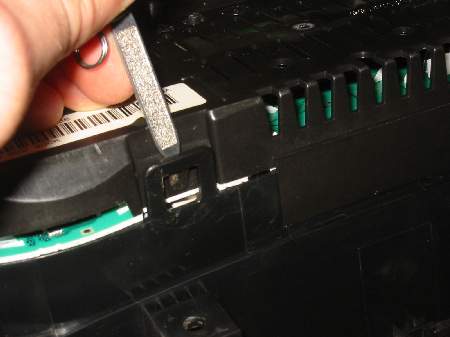
Roll the 20 sided die and your elf choices "side cutter pliers" to cut that little bridge that is just above each LCD display. With you having 64 hit points and never kissed a girl, your elf defeats the piece of plastic. You move onward. |
| The white plastic base has several barbed tabs that are poked though holes in the circuit board. Starting at one end of the cluster, gently pull on the base plate away from the circuit board and release the barbs one at a time. The elf freaks out and dies... the troll rolls a 12 which means nothing you are doing good, but still haven't kissed a girl. You move onto the final step of slaying the white plastic base. |
 |
 |
The reset button (or post) for the odometer has a barbed tip that goes though the circuit board, just pull it apart. Troll again, rolls a 19 had has skill level of 34, post dies a gory death... white plastic base is now removed... 0 girls kissed. In the history of D&D, there is no documented cases where playing the game has lead to a "make out" session with a hot girl (well, a real girl... one might roll a 7 on the 8 sided die and have thier cleric make out with some hot elf chick, but that doesn't count). Not sure why I'm going on with this D&D thing... onward... |
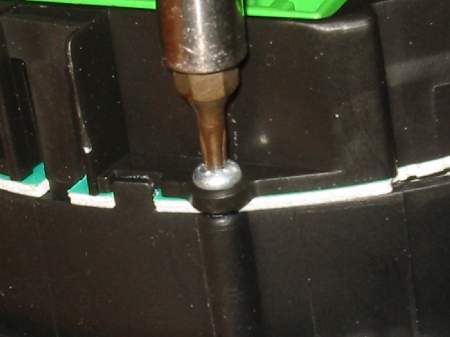
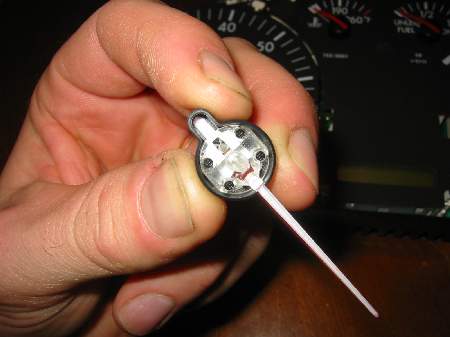
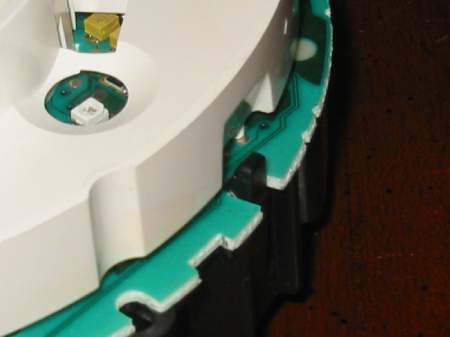
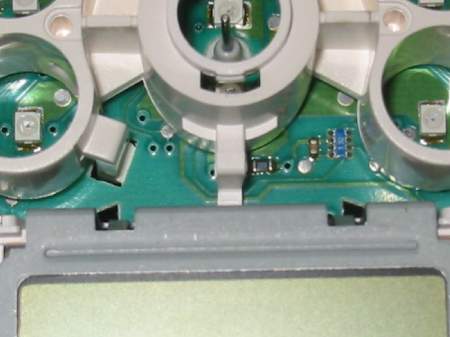
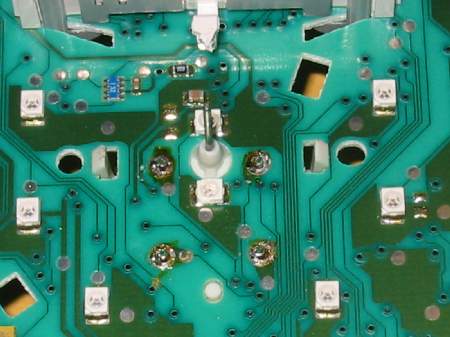
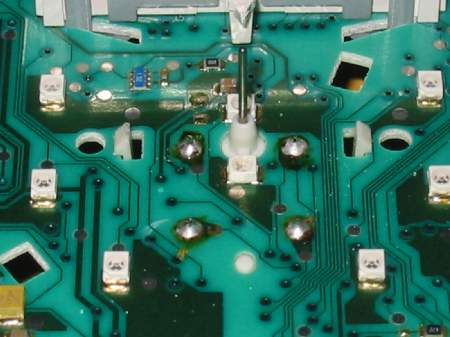
| The stepper motors are held in place with 4 solder points (one being pointed out by my tiny file) that are in a square pattern, and 2 plastic barbs. This is where some soldering skills will come in handly. The little white square blocks are LEDs. |
 |
 |
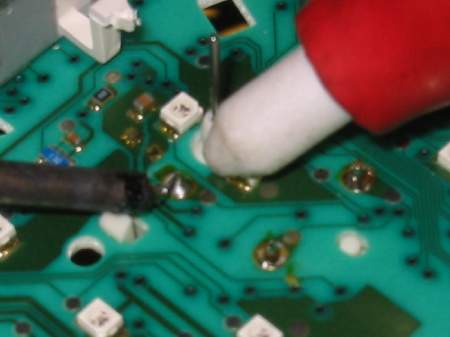
Radio Shack sells this desoldering bulb for a few bucks, they work great for this job. You squeeze the bulb, melt the solder and while the solder is molted, use the bulb to suck it up. The white tip is teflon and won't melt. |
| With the soldering iron to one side and the desoldering bulb to the other, melt the solder and suck it up. This pic is posed. Notice how will my wife is holding the desoldering bulb. Ohhhh ahhhh. Not seen is where I had part of the hot soldering iron on a piece of plastic and melted it pretty badly and my wife then complains about the smell of melting plastic. She wanted to watch her TV show... but since you can pause TV when you have a PVR I was able to enlist her help... (not rambling on about D&D at least). |
 |
 |
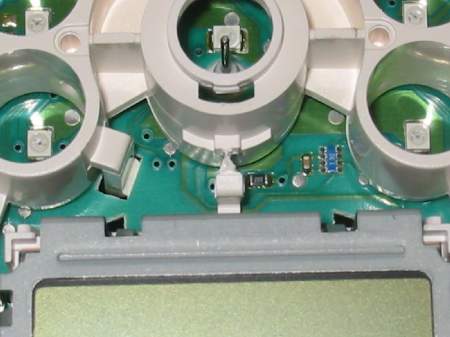
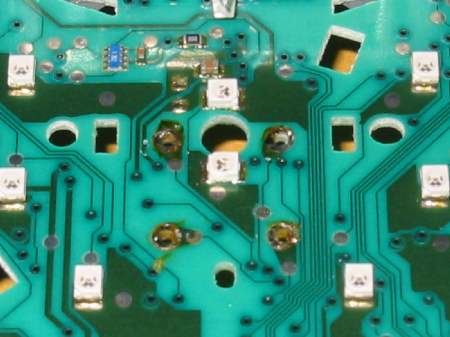
With all 4 points desoldered. There should be a little tiny post sticking though a open hole with no solder jointing the post to the hole. Sorry about the lame pic, I tried over and over to take a better pic, best I could do here. |
| At this point, release the 2 barbed points of the stepper motor and pull if free from the circiut board. |
 |
 |
Pop the replacement stepper motor into place and solder the 4 points down. |
| Place the white plastic base frame in place, pop the odometer post into it's hole as well. Be sure that it is flat against the circuit board, all of it's barbs fully seated. Once that is done, refit the back half of the cluster to the circuit board asm. |
 |
 |
May need to push the plastic bridge that was cut to the side to get the white plastic base to sit flat. |
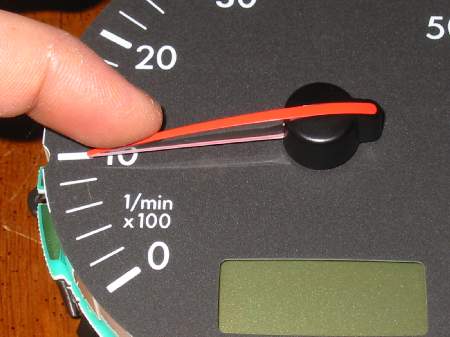
| Put the 2 face plates back on then gently tap the needles onto the shafts. You don't want to push them to far down to the point where the base of the needle touches the face plate. There needs to be a .5mm gap between the base of the needle and the face plate! If you push it down to far, then the base will drag on the face plate and can give you the same jerky needle movement you are trying to fix. You will need to reset them back to the zero point, just spin then around counter clockwise 360 degrees then.... |
 |
 |
.... carefully working them so that they point to the zero posistion like so. Yes, this can take several tries. If you miss the mark, spin around counter clock wise and try again. |
| Making sure the needles are all pointing to thier zero position... |
 |
 |
Fit the front half back onto the cluster asm and snap all of the latches into place then put the 2 torx screws back in. Done. |
Click here to vote for my site if you find the info useful. Thank you.

All Step-By-Steps use Postcard-ware fees, if you find the info useful, then please send a postcard to:
4130 Products
740 Schenley Rd
Knoxville, TN 37923
Why should you send a postcard? Because it is cheap to do and as we all know, the US Post Office is funding it's Super Muntant Army Project with fees from postcards stamps. I would really like to see a Super Muntant Army deliever my mail in the near future.
Thank you.
Yes... there are a lot of typos. All typos are trademark of 4130 Products and can not be duplicated or corrected.